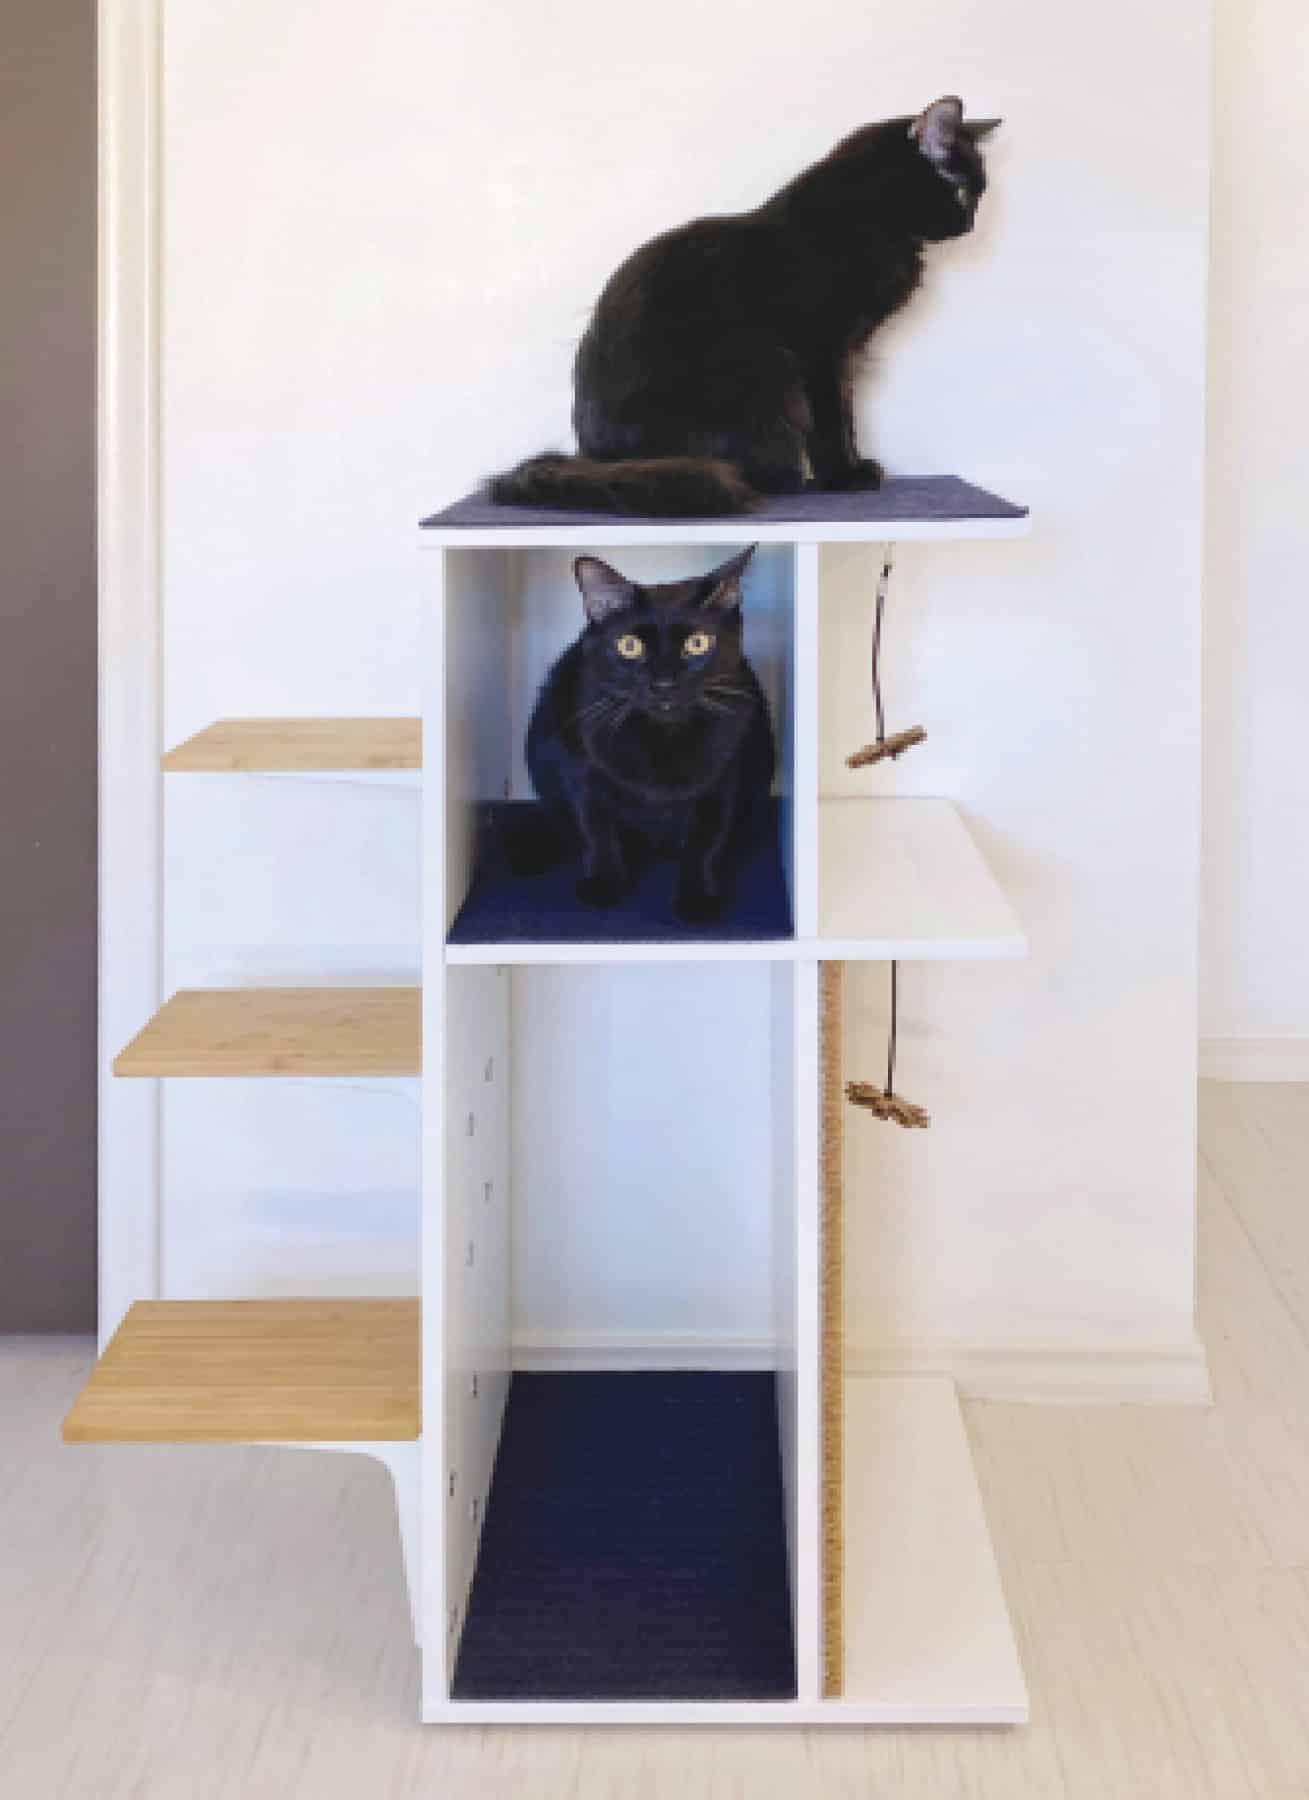
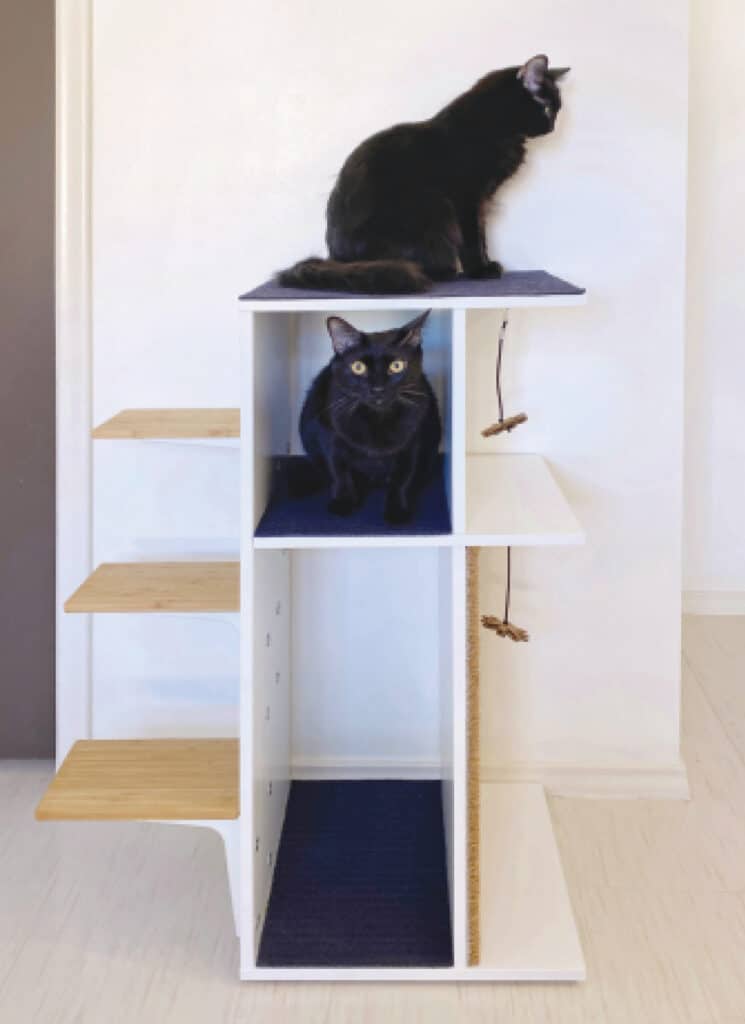
Catification hacks are a true test of your creativity, but they can result in something totally unique and cool. Just find a piece of furniture or other item that wasn’t designed for a cat and modify to make it into exactly what you’re looking for. This can be as simple as tossing a blanket inside a decorative basket for your cat to curl up in or a little more complex, like this cat climber.
By hacking existing items, you don’t have to build everything from scratch. Look for things that give you the basic structure you need and that match your style. For more advanced projects you may need a few basic tools, but you don’t have to be a master carpenter.
Hacks can also be budget friendly. You can purchase new items or use things you have lying around or that you find at a thrift store. The creative possibilities are endless!

Buying the right stuff
I took a trip to IKEA to find some basic pieces to create a cat climber. I chose the BAGGEBO TV stand ($19.99) as the base of the cat climber because it has multiple compartments that become levels for cats to climb on when you turn the stand on its side. It measures just over 35 inches long — the perfect height for a small climber or a window perch — plus at only $19.99 it’s a bargain!
I also picked up a small TRAMPA coir door mat ($7.99), a texture that cats love to scratch and rub on, and some KRISTRUP polyester doormats ($1.29 each) to use for non-slip pads.
Not all cats will want to jump the full 35 inches to the top platform, so I decided to attach three small steps to the side of the piece to let cats climb up and down. Instead of using regular shelves, I chose three small APTITLIG bamboo cutting boards ($3.49 each) with SIBBHULT shelf brackets ($.75 each).

Catification hack (definition)
Using everyday products or furniture that were never meant to be used by a cat and turning them into something totally unique that your cat will love.

Tools and materials
Here is everything else you will need for the project that you can get at your local home-improvement store.

- Utility knife
- Straight edge and a cutting surface
- Marking pen and pencil
- Electric drill
- Electric driver or a regular screwdriver
- Paint brush and white paint
- Contact adhesive and applicator brush and/or double-sided carpet tape
- Screws and t-nuts for attaching the steps to the side

 Instructions
- Assemble TV stand according to directions, but do not attach the back panel or the feet that came with it.

©Photography by Kate Benjamin - Measure and cut the coir door mat to fit the lower section of the side. This will create a vertical scratching surface.

©Photography by Kate Benjamin - Measure and cut the polyester doormats to fit inside compartments and on top perch.

©Photography by Kate Benjamin - To attach the coir mat for the vertical scratching surface, use heavy-duty contact cement. Work in a well-ventilated area away from your cats, and look for an adhesive that is nontoxic when cured. Follow the directions carefully; in this case I had to apply the adhesive to both sides and let it dry before attaching.

©Photography by Kate Benjamin - To attach the polyester doormats for the non-slip pads, use contact cement or try double-sided carpet tape to hold the mats in place.

©Photography by Kate Benjamin - Attach brackets to steps. If using the bamboo cutting boards, pre-drill the holes to prevent splitting. I used #8 panhead sheet metal screws, ¾” and 1” long (if using the IKEA brackets, you’ll need two different size screws).

©Photography by Kate Benjamin - The TV stand is made from particle board, which can be difficult to attach things to, especially steps that need to support the weight of a cat jumping on and off. To attach the steps securely, I used t-nuts and machine screws. This requires drilling all the way through the side, inserting the t-nuts on the back side, and then attaching the brackets to the t-nuts with screws. I used 8-32 t-nuts and 8-32-round head machine screws both 1” and 1 ¼” long, with a 3/16” drill bit for the hole.

©Photography by Kate Benjamin - Because we turned the TV stand on its side, there is an unfinished edge of particle board showing. This can be easily remedied by painting the exposed particle board white.

©Photography by Kate Benjamin - Attach non-slip bumper feet to the bottom. I prefer to use the kind that screw on rather than the stick-on type because they are more secure.

©Photography by Kate Benjamin - The TV stand includes a bracket for securing it to the wall. You’ll need to use the bracket to attach the climber to a wall for stability, especially if you are adding steps on.

©Photography by Kate Benjamin - Add extra fun to your climber by installing eyehooks on any overhead surface where you want to put a hanging toy

©Photography by Kate Benjamin
This is just one example of how you can make a DIY Catification hack cat climber, but there are endless ways for you to customize it. Use different materials for the scratching surface and non-slip pads, add more hanging toys, eliminate the steps if you don’t need them — just make something that both you and your cat will love.

